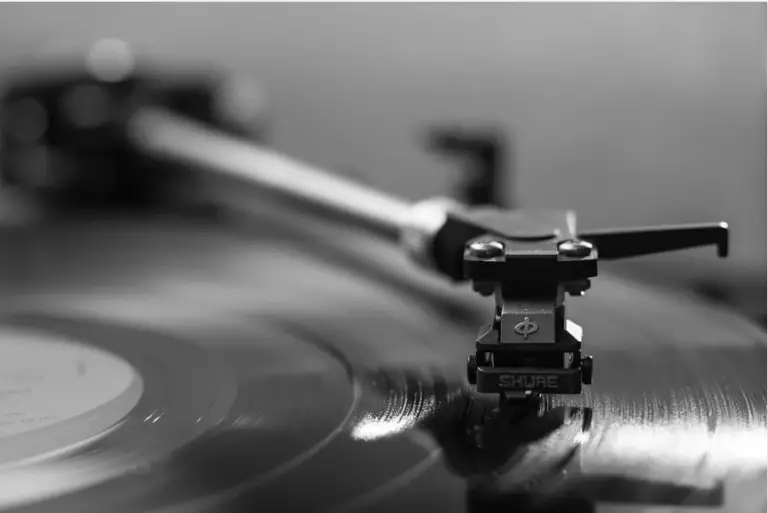
How To Vocoder Using Ableton Live Software
Bell Labs made the first vocoder back in 1938. Originally, they made it to lessen the bandwidth of voice information. This would mean the voice information could be transferred farther.
These days, it’s more useful to sound cool in music. You see it in modern Digital Audio Workstations (DAWs) like FL Studio and Ableton to transform your vocals into something unique.
Knowing that, do you want to know how to vocoder? If the answer is yes, check out our guide.
What is a Vocoder?
In simple terms, a vocoder is a tool for creating human speech. It is a tool used in many applications that includes vocal encryption, compression, and voice modification.
In its original form, the creators didn’t intend it to be a tool for musical production. But, much like your wooden spoons, an upside down metal bowl, and too much time, it found a way.
How Does A Vocoder Work?
The vocoder works by analyzing the modulator signal’s sound, which in most cases would be someone’s voice. This signal is then split into multiple frequency bands.
The frequency bands are sent through another source, which is a synth when regarding music. These bands have different frequencies that are tracked and are sent through a bandpass filter. Vocoders complicate the “are synthesizers hard to learn” question.
A sound source (known as the carrier) will go through the filters. The level of each of the bandpass filter will adjust automatically to the corresponding frequency of the modulator signal.
As the sound adjusts, it creates something that attempts to resemble the original noise. But, because of the limitations of technology, it sounds a bit off. Here’s an example from Brad Murphy:
This can be like autotune, but makes your voice sound different. We have another article if you are curious about what autotune does to your voice.
Vocoder Terminology You Should Know About
Before you can set up and use a vocoder, it’s important to know the terminology. Here are the basics.
VCA
VCA stands for Voltage Controlled Amplifier. This is a synthesizer module that adjusts the volume of the signal under the input of said signal.
Voiced And Unvoiced
This is the part of your vocoder that can detect whether something has a voice (therefore tonal) or doesn’t have a voice (therefore noise). Once the vocoder has detected whether something is one or the other, it will react accordingly.
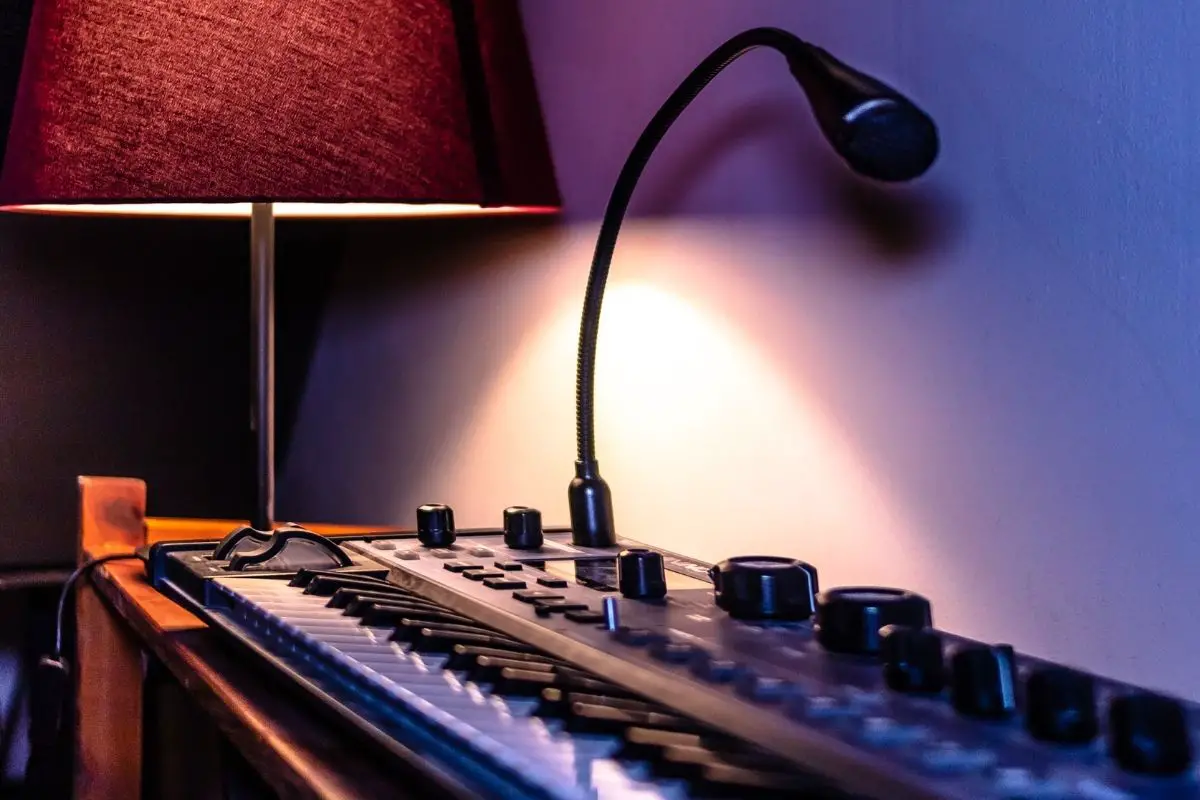
How To Set Up Your Vocoder Using Ableton
If you want to use a vocoder for vocals, instruments, or any other audio, you’ll need to know how to set one up. The following instructions are for Ableton’s Vocoder specifically. However, they are likely to apply to every other vocoder on the market as well.
- Create an audio track for the modulator signal. In most cases, this will be your vocals, but can be any form of audio. All you need to do to create an audio track is press CMD + T on your vocoder.
- Next, you’ll be creating the track for the carrier signal (the synth). If you’re not using an external synth, create a MIDI track by pressing CMD + Shift + T and onto load it. Reminder: You can mute the track by turning off the Track Activator in the mixer section.
- Place the vocoder on your track with the track you want to vocoder
- Set the Carrier Type of the vocoder to External.
- Set the vocoder’s sidechain input source to the synth track post FX. Remember, if you’re tapping on the signal post mixer, there won’t be any sidechain input signal since the track is muted.
- Next, adjust the settings of the vocoder, the most important of which is the number of desired bands. The more bands, the more accurate analysis of the sound, and therefore the clearer the output signal.
There are several other settings you can adjust. For example, the Envelope Depth settings adjust how much of the envelope of the modulator applies to the signal of the carrier. The knobs for Dry/Wet will let you adjust the ratio of processed to dry signal.
The settings you’ll be using will depend on your preferences, as well as what kind of audio you’re using, be it vocals or instrumentals.
How To Use A Vocoder

There are multiple uses for a vocoder, whether it’s for lead vocals, background vocals, drums, guitar, or any other audio. Let’s break down all of the most common uses.
How To Use A Vocoder For Lead Vocals
This is usually the most common use of a vocoder. Using a vocoder is a way to make a unique sound on a track because those are the vocals you’ll want people to hear above all else (most of the time).
If you want people to hear your lyrics as clearly as possible, for example, then you should use over 10 bands for your lead vocals.
It’s important to remember you’re dialing in the unvoiced settings, so you miss no consonants.
How To Use A Vocoder For Background Vocals
You can also use a vocoder can also on background vocals. You can hear this method has in many popular songs, such as the iconic “Hide and Seek” by Imogen Heap.
You need to make sure that harmonies aren’t more focal than they need to be. After all, you call them background vocals for a reason. For this reason, it’s usually best to avoid the noise generator for background vocals. You may also consider filtering out all the low mid frequencies.
How To Use A Vocoder For Drums
While vocals are most common, you can use a vocoder for any audio, including instruments like drums. Using a vocoder for your drum’s audio is a way to add some unique filtering to the sound.
It’s an experimental practice, and it might take you a while before it sounds good, but it’s an interesting method.
How To Use A Vocoder For Guitar
The best way to use your vocoder for guitar audio is to locate a guitar track without your session that contains some single-note licks.
Route the track’s output to an aux bus (the signal path that’s auxiliary to the path of the mixer’s main audio), and name the aux bus something like ‘GTR Vocoder’. Next, create an instrument track and change the key input of your GTR Vocoder aux bus to Voice.
The purpose of this method is basically to trick your vocoder into thinking the input is a microphone when it’s a guitar track. This allows you to do some fun (and experimental) things with the track by adjusting your vocoder’s parameters.
Other Vocoder Settings That Will Help Your Track Stand Out
There are a variety of settings you can adjust to change how your audio sounds. Here are some of the most common settings.
Compression
Often, the modulator input of the vocoder will have dynamic processing. This will cause a more consistent signal source.
Some vocoders have a dedicated compressor module that allows you to adjust the Gain and the Ratio, while other vocoders have a parameter that will give you a very similar effect. Compression is best suited to vocals- you won’t be using it much for, say, drums.
Attack And Decay
The attack and decay settings (which are also referred to as ‘release’) help the vocals to sound clearer because, when the attack values are lower, it means that specific syllables will be more distinct.
You need to be careful when adjusting this setting for instrumental tracks, though- if the attack value is too low, it can cause a stuttering effect.
The decay changes how quickly the attack effect goes away once the sound of the modulator has ceased. This is most similar to the decay/release parameter which you’ll find on an envelope filter.
Formant Or Shift
The primary use for formant or shift is to alter the characteristics of your speech, but you can also add tonal shifts to your carrier audio. The higher the formants, the higher the frequency of the harmonies.
You can adjust the format or shift via the default carrier filters. Low-frequency filters will cause lower formants, while high-frequency filters will cause higher formants.
Unvoiced
This setting is used to recreate specific consonants that the vocoder would otherwise struggle to decipher. This is handy for sibilants or plosives. Some sounds from your audio are used to achieve this, as well as some noise from the vocoder itself.
Oscillators
Every vocoder needs an oscillator- that’s where the distinctive synthetic sound comes from. Oscillators create waveforms that are then modulated by your audio. A lot of vocoders on the market have over one oscillator, but they all have at least one.
Noise Oscillator
As well as the traditional oscillator, many vocoders also have a noise oscillator. This oscillator adds a kind of static noise to your audio. You’ll need to make sure you’re not dialing it in too high, though, as this could cause the harsh distortion of your vocals.
Final Thoughts
Using a vocoder allows you more control over your tracks, as well as more room to experiment. You can use a vocoder for any audio, be it vocals or instruments or anything else, but the process is similar across the board.
With our guide, you should be well on your way to vocoder any track you see fit. Don’t be afraid to get experimental with it, either- some of the most popular historical uses of the vocoder were very unconventional.