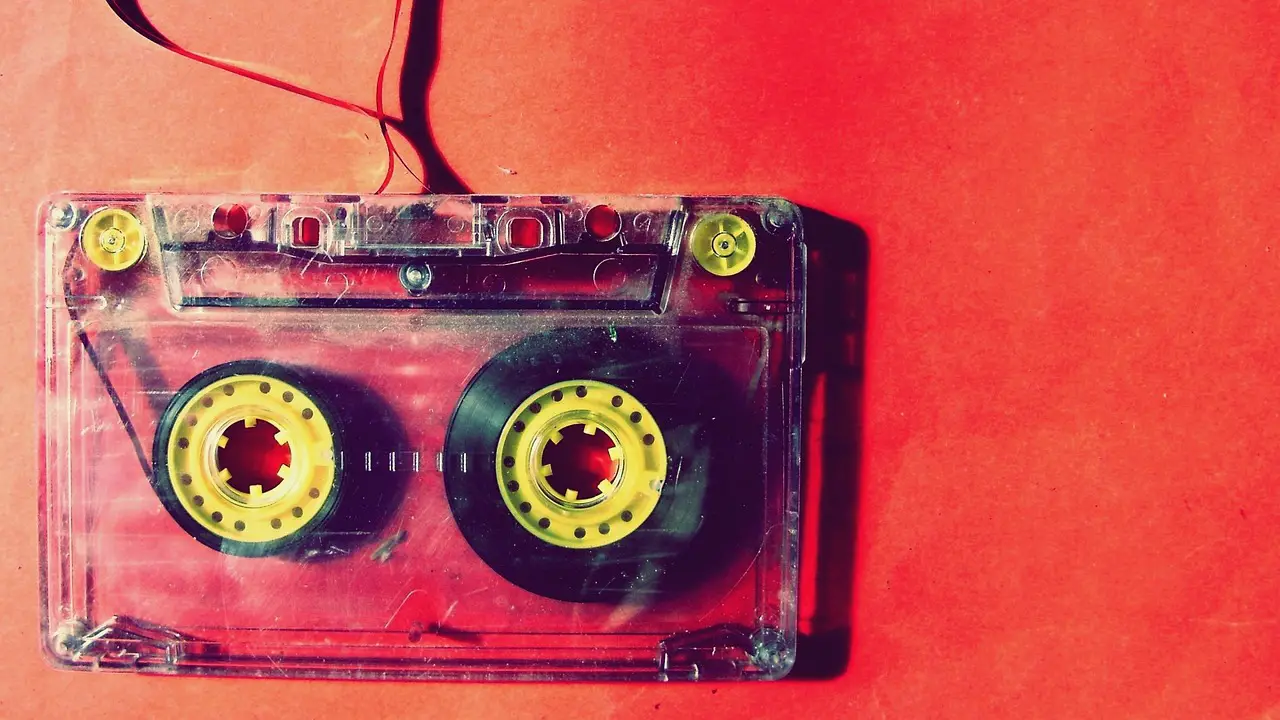
How to Transfer a Cassette Tape to My Computer
Got an old recording of a house show you went to on cassette? Or do you have a rare cassette with music you can’t find online? Cassette tapes lose their fidelity fast, so you can transfer the recording to your computer. But how do you transfer a cassette tape to your computer?
There are two ways you can transfer a cassette recording to your computer. The more straightforward method is to buy a cassette-to-MP3 converter. The other process is to plug a cassette player into your computer’s microphone port and use recording software.
Below, you’ll learn more about transferring audio from a cassette to your computer.
The Best Cassette To MP3 Converters
Buying a cassette-to-MP3 converter is the more straightforward method. You may be able to find one at a local retailer. Of course, there are a few worthwhile converters available online.
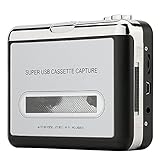
If you want to convert on a budget without sacrificing quality, I recommend the DigitNow Cassette to MP3 Converter.

- Cassette tape to mp3 converter:Via a USB cable, you can convert old mix tapes and cassette to MP3 to Play on iPod/MP3 player or burn to CD
- Audacity software: Using software to convert cassette tape to digital MP3. Audio output enables you to listen on your headphones, or other speaker system
- Portable design for Cassette Walkman: Compact Size and suitable weight makes you enjoy the music conveniently in any where via 3.5mm jack earphone (included). No installation or drivers required
- Various compatibilities: Compatible with Windows XP, Vista and Windows 7, mac older than version 10.5. Built-in battery/USB-powered operation
- Package Included: 1 x USB Cassette Capture, 1 x USB Cable, 1 x Software CD, 1 x 3.5mm jack earphone, 1 x User Manual
With any Cassette, you might expect audio quality issues. Still, you should be able to clean up any hissing noises afterward using audio editing software. It’s also pretty inexpensive.
A good next step up would be the Reshow Cassette Player, which doubles as an MP3 converter and a walkman.
- CASSETTE to DIGITAL CONVERTER– Our unique tape player quickly converts old cassettes to MP3 format via a USB cable. Revitalize old cassette Tapes, convert your dusty old cassette tapes to digital format and enjoy your favorite old music on modern devices with our user-friendly cassette to digital converter. It works with laptop CD burners.
- STANDARD WALKMAN USE - Lightweight, Compact Size, Better than just a cassette recorder, this vintage-style cassette tape player works seamlessly with any standard headphones. Fall in love with the sound of your favorite tapes all over again!
- MULTIPLE COMPATIBILITY OPTIONS - This jack is so versatile that it accommodates any standard 3.5mm AUX input. Connect your earbuds, headphones or use it to hook up your device to your car stereo for crisp sound quality.
- CLEAR SOUND QUALITY – By transferring your cassette to mp3 converter in a quiet room, you can enjoy crystal clear sound quality with even the oldest bands, relive your favorite music with pristine sound.
- COMPLETE TRANSFER KIT – Each order comes with converter software, a guide and a 5V DC USB power cord to ensure quick and convenient conversions every time.
With both options above, you can expect some flimsiness to the material. Inexpensive products can still be great if you keep this in mind.
If you want a converter that doesn’t feel like it will break if you drop it, shoot for the ION Tape Express Plus. It offers more durability than the other two models on our list. The sound quality is also supposed to be better, but don’t expect perfection.
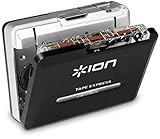
- USB cassette player for converting your music or recordings into MP3
- Powered by mini-USB or 2 AA batteries
- Hardware transport and volume controls, Software selector for Chrome/Normal cassette-type
- Audio output jack for headphone or speaker playback
- EZ tape converter software included for transfer and dubbing to computer
After you’ve chosen a converter that’s right for your needs, it’s as simple as following the directions. Here’s a list of steps you can use that apply to most converters:
- Connect the converter to your computer’s line-in audio jack (typically a 3.5 mm headphone jack)
- Select the “external microphone” under your recording software.
- Listen to the recording and adjust the audio mixer until it produces higher quality sound
- Use free recording software (like Audacity) to record the audio
- Select the correct “microphone” from your audacity settings
- Click the red record button on Audacity and the play button on your converter
- Review the audio and make edits as needed
Sometimes, the converter will come with audio software, but this is less common. Free recording software will give you a firm backup, just in case.
How To Record Audio On Your Computer With A Regular Cassette Player
If you already have a cassette player, recording your music directly on your computer will likely be cheaper.
Below, you’ll see some steps you can use to simplify the process:- Get a 3.5 mm to 3.5 mm audio jack, which applies to most cassette players (you might need RCA audio jacks to a 3.5 mm adapter in some cases)
- Connect the ports to your cassette player and your computer’s line-in audio jack.
- Test the audio for quality and ensure you have snug cables with no flaws.
- Record it using free audio software.
- Edit it to remove any “fuzz.”
This is no different from plugging in a microphone to your computer. The only difference is that the audio received will come from the other end of your cord.
Don’t plug the audio into your line-out port for audio output (not input). You’ll see a headphone icon above the line-out port that you should avoid.
If your player’s output port has two red and one white port, that’s called an RCA port. It means you’ll need to get your hands on an RCA to 3.5mm adapter. The adapter might lower the sound quality a bit.
Different Audio Recording Software You Can Use To Get Cassette Audio
We’ve already mentioned one audio recording software: Audacity. But, you might have limited space on your computer, leaving you with built-in options.
Both Microsoft and Mac have audio recording software that works great. For Microsoft, use the Voice Recorder app. For Mac, use the QuickTime Player app. Both apps are already installed on their respective systems.
Below, you’ll find some alternative audio recording software worth considering:
- Leawo Music Recorder – Great for recording music and maintaining audio quality. It’s a solid alternative to Audacity
- WavePad – Great for adding special effects to your audio after
- GarageBand – A Mac-based audio recording software that’s simple. It’s great for gathering samples and using them on other music.
Once you’ve picked your recording software, you’re on the home stretch. Keep the volume low on your cassette player so you don’t damage your computer’s input line, and adjust the volume through the computer itself.
How To Use Audacity to Record Cassette Audio
- Run the Audacity app, then pick MME in the sound recording dropdown menu in the top left-hand corner.
- Right next to that menu to the right, choose your audio input. It’s another dropdown menu, and you should pick the line-in option. Just don’t choose the Microsoft SoundMapper.
- From there, just hit record in Audacity and then hit play on your cassette player.
- Record a bit, then listen to it to ensure your settings are good.
- Adjust the sound volume on your computer as needed to get the desired quality.
- Turn the volume up if the sound is fuzzy and the music is faint.
- If the sound is distorted and harsh, turn the sound down.
Editing Your Audio Using Audacity
Now you can edit the file to get it even cleaner sounding. You can adjust a few different settings to get your file the way you want.
I recommend starting by normalizing, as it levels the volume of your audio. Go to Effect and click Normalize. This will adjust the sound to fit within the acceptable output while maximizing the sound’s range.
If you’re confident, you can open the Equalizers and adjust the sound more granularly. You can do that under Effect and then Equalization.
Keep a copy of the original recording before you do anything, just in case things go awry. When finished, go to File and hit export to export the edited recording as an MP3 file or whatever other file you prefer.
Common Issues During Cassette Tape Transfer
Distorted Sound:
Distorted sound can occur for several reasons, such as incorrect volume levels or an old and worn out cassette tape. Always ensure that you’re not overloading the input on your computer; this can be checked by monitoring the input levels on your recording software. If the cassette tape is the issue, you might consider seeking professional help to restore it.
Background Noise:
This issue often stems from a worn-out cassette player or the cassette tape itself. Regular maintenance of your cassette player can mitigate this issue. However, if the noise originates from the tape, noise reduction software might be your best bet post-transfer.
Speed Issues:
If your tape player audio is playing back too slowly or too quickly, it’s likely indicative that there’s a problem going on with the tape player’s motor, which can be pretty difficult to deal with. Because cassette players are outdated and not as widely produced, it’s usually easier to replace the player altogether rather than trying to repair the motor.
Low Volume:
If the volume is too low during transfer, ensure your cassette player’s volume is turned up and check the input level on your computer. If the issue persists, the tape may be degraded, in which case professional restoration may be necessary.
Missing High Frequencies:
Over time, cassette tapes can lose their high frequency content, resulting in dull-sounding audio. This is a natural occurrence with older tapes. Some audio software can help restore these frequencies after the tape has been digitized.
Preserving The Quality of Your Cassette Tapes During Transfer
Firstly, it’s crucial to handle your cassette tapes with care. Think of them as valuable antiques requiring delicate attention. If they’ve been sitting idle for a prolonged period, it’s beneficial to clean them prior to the transfer process. Use a soft cloth or purchase a specialized cassette cleaning kit for this purpose. Do remember to be gentle to avoid any potential damage to the tape inside.
Secondly, assess the condition of your cassette player. If it, like your tapes, has been dormant for some time, it may need cleaning to ensure optimal performance. Dust accumulation in the player can adversely affect the sound quality during the transfer, so starting with a clean player is a requisite for the best outcome.
When you’re ready to commence the transfer process, patience is key. The urge to hasten the process can be tempting, but speeding it up could negatively impact the sound quality. Transferring at the standard speed is highly recommended for maintaining audio integrity.
Importantly, monitor your volume levels throughout the transfer. Overly high volume can lead to audio distortion, while excessively low volume may cause the loss of finer details. It’s optimal to maintain levels that are neither too high nor too low.
Finally, when saving your digital files, opt for a lossless format like WAV or FLAC. These formats ensure that no data is lost during compression, preserving the audio quality to the fullest extent.
By adhering to these guidelines, you can ensure that your cassette tapes are accurately represented in their new digital format, thus preserving the original quality of the audio.
Frequently Asked Questions
What equipment is necessary for transferring cassette tapes to my computer?
To successfully carry out a cassette to computer transfer, you’ll require a cassette player, an audio cable (preferably 3.5mm), and a computer with an audio input jack. For recording and converting the audio, a software like Audacity would be an ideal choice.
How can I maintain optimal sound quality during the transfer?
For optimal sound quality, ensure that your cassette tapes and player are clean. Monitor your audio levels to avoid distortion and always opt for a lossless audio format such as WAV or FLAC while saving your files.
What if my computer does not have an audio input jack?
In case your computer lacks an audio input jack, a USB audio adapter can come in handy, allowing you to connect your cassette player to your computer seamlessly.
Can the audio quality be enhanced after the transfer?
Yes, the quality of audio can indeed be improved after the transfer using audio editing software. This allows you to remove noise and adjust volume. You can even layer on some effects if the song has something lacking in the mix.
What should I do if my cassette tape is damaged?
If your cassette tape is damaged, it may require repair before the transfer. While professional services can be sought for severe damages, for minimal damages, numerous online guides offer helpful DIY repair instructions.
What is the duration of a cassette-to-computer transfer?
The transfer process happens in real time, implying that the duration depends on the length of the tape. For instance, a 60-minute tape would take 60 minutes to transfer.
Conclusion
And there you have it. Your backlog of cassette creations will no longer be lost to the cruel machinations of time.
Now you can listen to those cassettes as often as you want, without the stress of having no backup file. Because although digital is incredibly handy, sometimes you need to listen to the real thing.