How to Clean Drum Cymbals
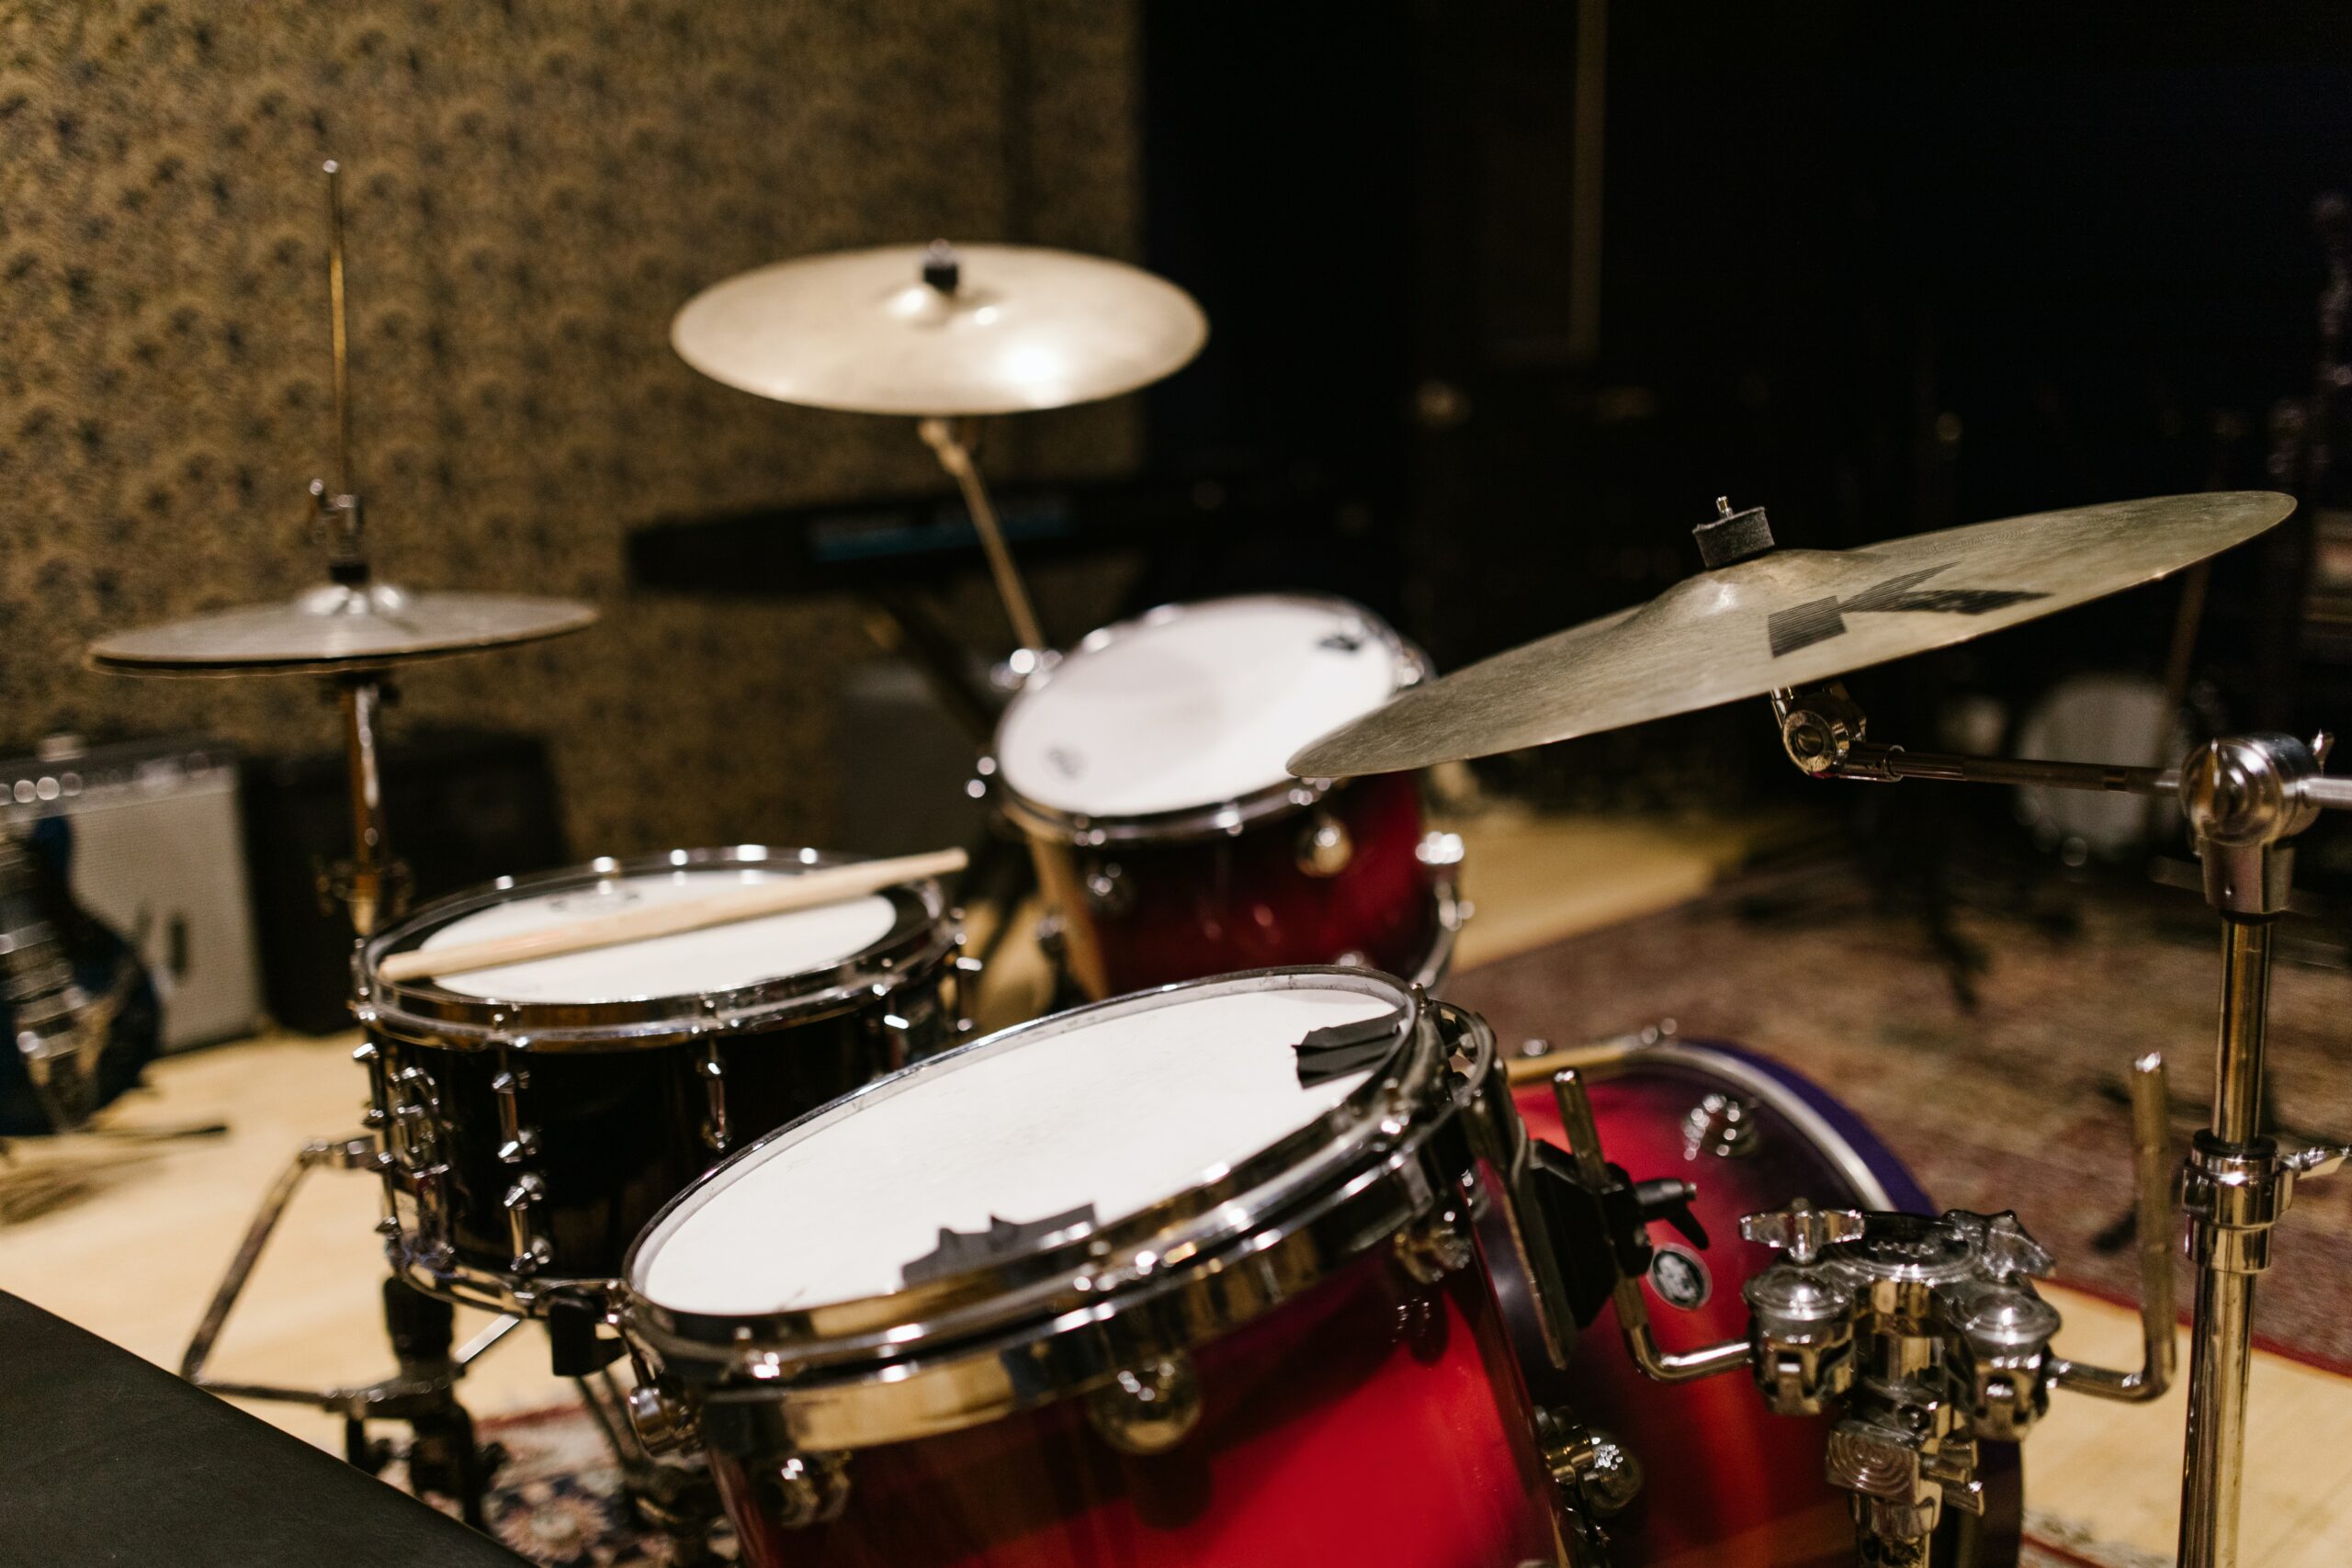
All drummers know that feeling when you’re behind the kit, grooving to your beats, and the cymbals are shimmering under the lights.
But as we keep playing, those cymbals can lose their sparkle and start affecting the sound we work so hard to perfect. That’s where the simple yet essential practice of cleaning your drum cymbals comes in.
Whether you’re a newbie or a seasoned pro, keeping your cymbals clean isn’t just about appearances—it’s about maintaining their tone and ensuring they last for the long haul. In this post, we’re diving into the nitty-gritty of cleaning your cymbals, no frills attached.
In short, the best way to clean drum cymbals includes wiping drum cymbals gently with a soft cloth dampened in a mild soapy solution, then rinsing with water and drying thoroughly. Avoid abrasive cleaners and check manufacturer’s recommendations for specific care instructions.
In this article we’ll break down everything you need to know, from the basic supplies to have on hand to the step-by-step process that’ll have your cymbals looking and sounding their best. No need to worry about complicated methods or fancy gear—just straightforward advice that every drummer can benefit from.
What Are Drum Cymbals Made Of?
Drum cymbals are typically made from various alloys, which are combinations of different metals. The choice of alloy has a significant impact on the cymbal’s sound characteristics, durability, and overall performance.
Additionally, the alloy choice can also impact what goes into the overall cleaning process. Here are some common materials used to make drum cymbals:
Bronze Alloys:
B20 Bronze: This is one of the most common alloys used for professional cymbals. It consists of 80% copper and 20% tin. B20 bronze cymbals are highly regarded for their rich, complex tones and versatile sound profiles. They are often used in high-end cymbal lines and can produce a wide range of sounds, from warm and dark to bright and cutting.
Brass Alloys:
B8 Bronze: This alloy contains around 92% copper and 8% tin. B8 cymbals are known for their affordability and bright, focused sound. They are often used in entry-level cymbal sets.
Nickel-Silver Alloys:
B12 Alloy: Comprising approximately 65-80% copper, 20-30% zinc, and a small percentage of nickel, B12 alloy cymbals offer a balance between the tonal characteristics of bronze and brass. They can provide a mix of warmth and brightness.
Other Special Alloys:
Agop Signature Alloy: A proprietary alloy developed by some cymbal manufacturers, such as Istanbul Agop. This alloy can offer unique tonal qualities specific to the brand.
Zildjian’s ZXT Titanium: Some cymbals incorporate titanium into their alloy composition for added durability and unique tonal properties.
Hand-Hammered and Cast Cymbals:
Hand-Hammered: These cymbals are individually crafted by skilled artisans who hand-hammer the metal sheets. The hammering process affects the cymbal’s sound by altering its profile and creating a unique texture.
Cast: Cymbals can also be cast from molten metal and then machine-hammered or lathed. Cast cymbals tend to have a more controlled and consistent sound.
Different manufacturers use their proprietary recipes and manufacturing techniques to create cymbals with distinct tonal qualities and characteristics.
The combination of the alloy composition, manufacturing process, and finishing treatments (such as lathing or hammering) all contribute to the final sound and appearance of the cymbals.
How To Clean Drum Cymbals: Step By Step
1. Gathering Supplies
Before you embark on the journey of revitalizing your drum cymbals, it’s crucial to gather the right supplies. Having the proper tools and materials on hand ensures that the cleaning process is efficient, effective, and safe for your cymbals. Here’s a comprehensive list of supplies you’ll need:
- Microfiber Cloths: These soft, lint-free cloths are your go-to for gently wiping away dirt and grime from the cymbals’ surfaces. Microfiber cloths minimize the risk of scratching or damaging the cymbals during cleaning.
- Mild Cleaning Solution: Opt for a mild, non-abrasive cleaning solution that’s suitable for the specific type of cymbal and finish you have. You can find cymbal-specific cleaners or make your own solution using a mixture of water and a mild dish soap.
- Water: Clean, lukewarm water is essential for rinsing the cymbals after cleaning to remove any cleaning solution residue.
- Protective Gloves: It’s a good idea to wear disposable or reusable gloves to protect your hands from any cleaning agents, especially if you’re using a mild soap or cleaner.
- Bowl or Basin: A container filled with the cleaning solution is useful for dipping your microfiber cloth and dampening it for cleaning.
- Soft Bristle Brush (Optional): For cymbals with intricate patterns or hard-to-reach areas, a soft-bristle brush can be helpful in gently scrubbing away stubborn grime.
2. Initial Cleaning
Before diving into the more thorough cleaning process, it’s crucial to begin with an initial cleaning to remove the surface layer of dust, dirt, and debris that can accumulate on your drum cymbals over time.
This step not only prevents scratching during the subsequent cleaning steps but also sets the stage for an effective overall cleaning process.
Start by grabbing a clean, dry microfiber cloth. Microfiber is ideal due to its soft texture that’s gentle on cymbal surfaces and helps prevent scratching. Inspect each cymbal for visible dirt, dust, and fingerprints. Pay extra attention to areas with more buildup, such as the cymbal’s bell or intricate patterns.
Using the microfiber cloth, gently wipe the entire surface of each cymbal. Use light pressure and circular motions to lift off loose particles. Begin from the edge of the cymbal and work your way towards the center, focusing on one area at a time.
For areas with more buildup or dust caught in grooves, guide the cloth with your fingers. Avoid pressing too hard; let the microfiber’s texture do the work.
As you wipe one side of the cymbal, periodically flip the microfiber cloth to a clean section or use a different cloth altogether to prevent transferring dirt back onto the cymbal.
Don’t forget to wipe around the entire circumference of each cymbal’s edge, as edges can also accumulate grime.
After your initial dry wipe, give the cymbals another quick look to ensure the loose dirt and dust have been effectively removed.
Now your cymbals should now appear cleaner and brighter. This initial cleaning process provides a clean canvas for the next steps of your cymbal cleaning routine.
3. The Full Cleaning Process
Now that you’ve completed the preliminary cleaning, let’s delve into the primary cleaning process that will restore the vibrancy of your drum cymbals.
This step-by-step guide will walk you through the techniques required to eliminate deeper dirt, uphold the cymbals’ finish, and unveil their genuine sonic potential.
Prepare the Cleaning Solution:
Start by readying the cleaning solution. If you have a cymbal-specific cleaner, adhere to the manufacturer’s instructions for creating the solution. Alternatively, if you’re concocting your own, mix a mild dish soap with lukewarm water in a bowl or basin.
Dampen the Microfiber Cloth:
Then, dip a corner of the microfiber cloth into the cleaning solution and wring it out to ensure it’s damp but not excessively wet.
Commence Cleaning:
With the damp cloth, gently sweep the cymbal’s surface. Initiate from the outer edge and progress toward the center, utilizing circular motions. This approach guarantees uniform coverage and prevents unsightly streaks.
Tackle Stubborn Stains:
For obstinate stains or spots with accumulated grime, apply slightly more pressure and employ the damp cloth to gently rub the affected area. Refrain from utilizing abrasive materials that might compromise the cymbal’s finish.
Thoroughly Rinse:
Following the cleaning of each cymbal, rinse it meticulously with clean water to eliminate any remnants of the cleaning solution. This step is pivotal in avoiding the accumulation of residual agents that could impact the cymbal’s sound or appearance.
Dry the Cymbals:
Use a soft, dry towel or cloth to pat the cymbals dry gently. Be thorough in eradicating all moisture to prevent the formation of water spots.
Optional: Apply Cymbal Polish:
Should you desire to rejuvenate the cymbals’ sheen and safeguard their finish, you can opt to apply cymbal polish in accordance with the manufacturer’s instructions. Keep in mind that the chosen polish should be compatible with the cymbal’s material.
Final Inspection:
Conduct a close examination of each cymbal post-cleaning to ensure their cleanliness, luster, and absence of any residue. Rotate the cymbals beneath different lighting conditions to detect any overlooked areas.
Long Term Maintenance of Drum Cymbals
With the radiance and resonance of your drum cymbals rejuvenated, the journey doesn’t conclude; it transforms into a commitment to sustained brilliance. Here’s how to ensure that your cymbals consistently gleam and resonate with the utmost harmony over time:
Consistent Cleaning: Regularly clean your cymbals after each playing session. This ritual prevents the accumulation of sweat, dust, and contaminants, preserving their luster and sound quality.
Gentle Handling: Always handle your cymbals with care. Avoid striking them against hard surfaces or allowing them to collide with each other. Treating them gently safeguards their visual appeal and sonic integrity.
Storing Wisdom: When storing your cymbals, take precautions to prevent scratching or damage. Place a soft cloth between cymbals to prevent direct contact and use padded bags or cases for added protection.
Appropriate Stands: Choose cymbal stands that securely hold your cymbals without causing undue stress or imbalance. An improperly positioned cymbal can affect its resonance and structural integrity.
Mindful Playing: Be mindful of your playing technique. Using appropriate drumsticks and mallets not only produces the desired sound but also minimizes wear on your cymbals.
Avoid Abrasives: Steer clear of abrasive cleaners, scouring pads, or harsh chemicals. They can compromise the cymbals’ finish and sound quality.
Regular Inspections: Periodically inspect your cymbals for signs of wear, cracks, or structural issues. Catching problems early allows for timely repairs or replacements, if necessary.
Environmental Factors: Be conscious of your practice environment. Extreme temperatures, humidity, and direct sunlight can impact your cymbals’ appearance and tone.
Final Thoughts
As drummers, we forge an intimate bond with our instruments, channeling our passion and creativity into each beat.
Your drum cymbals, the shining stars of your kit, are no exception.
Through this journey of learning how to clean and maintain them, you’ve unlocked the key to sustaining their brilliance and unlocking their full sonic potential.
Remember, cymbal care is not just about aesthetics; it’s about preserving the soulful sounds that resonate from your kit.
Regular cleaning and attentive maintenance become an extension of your musical expression, ensuring that every hit delivers the intended impact and harmonious melody.


